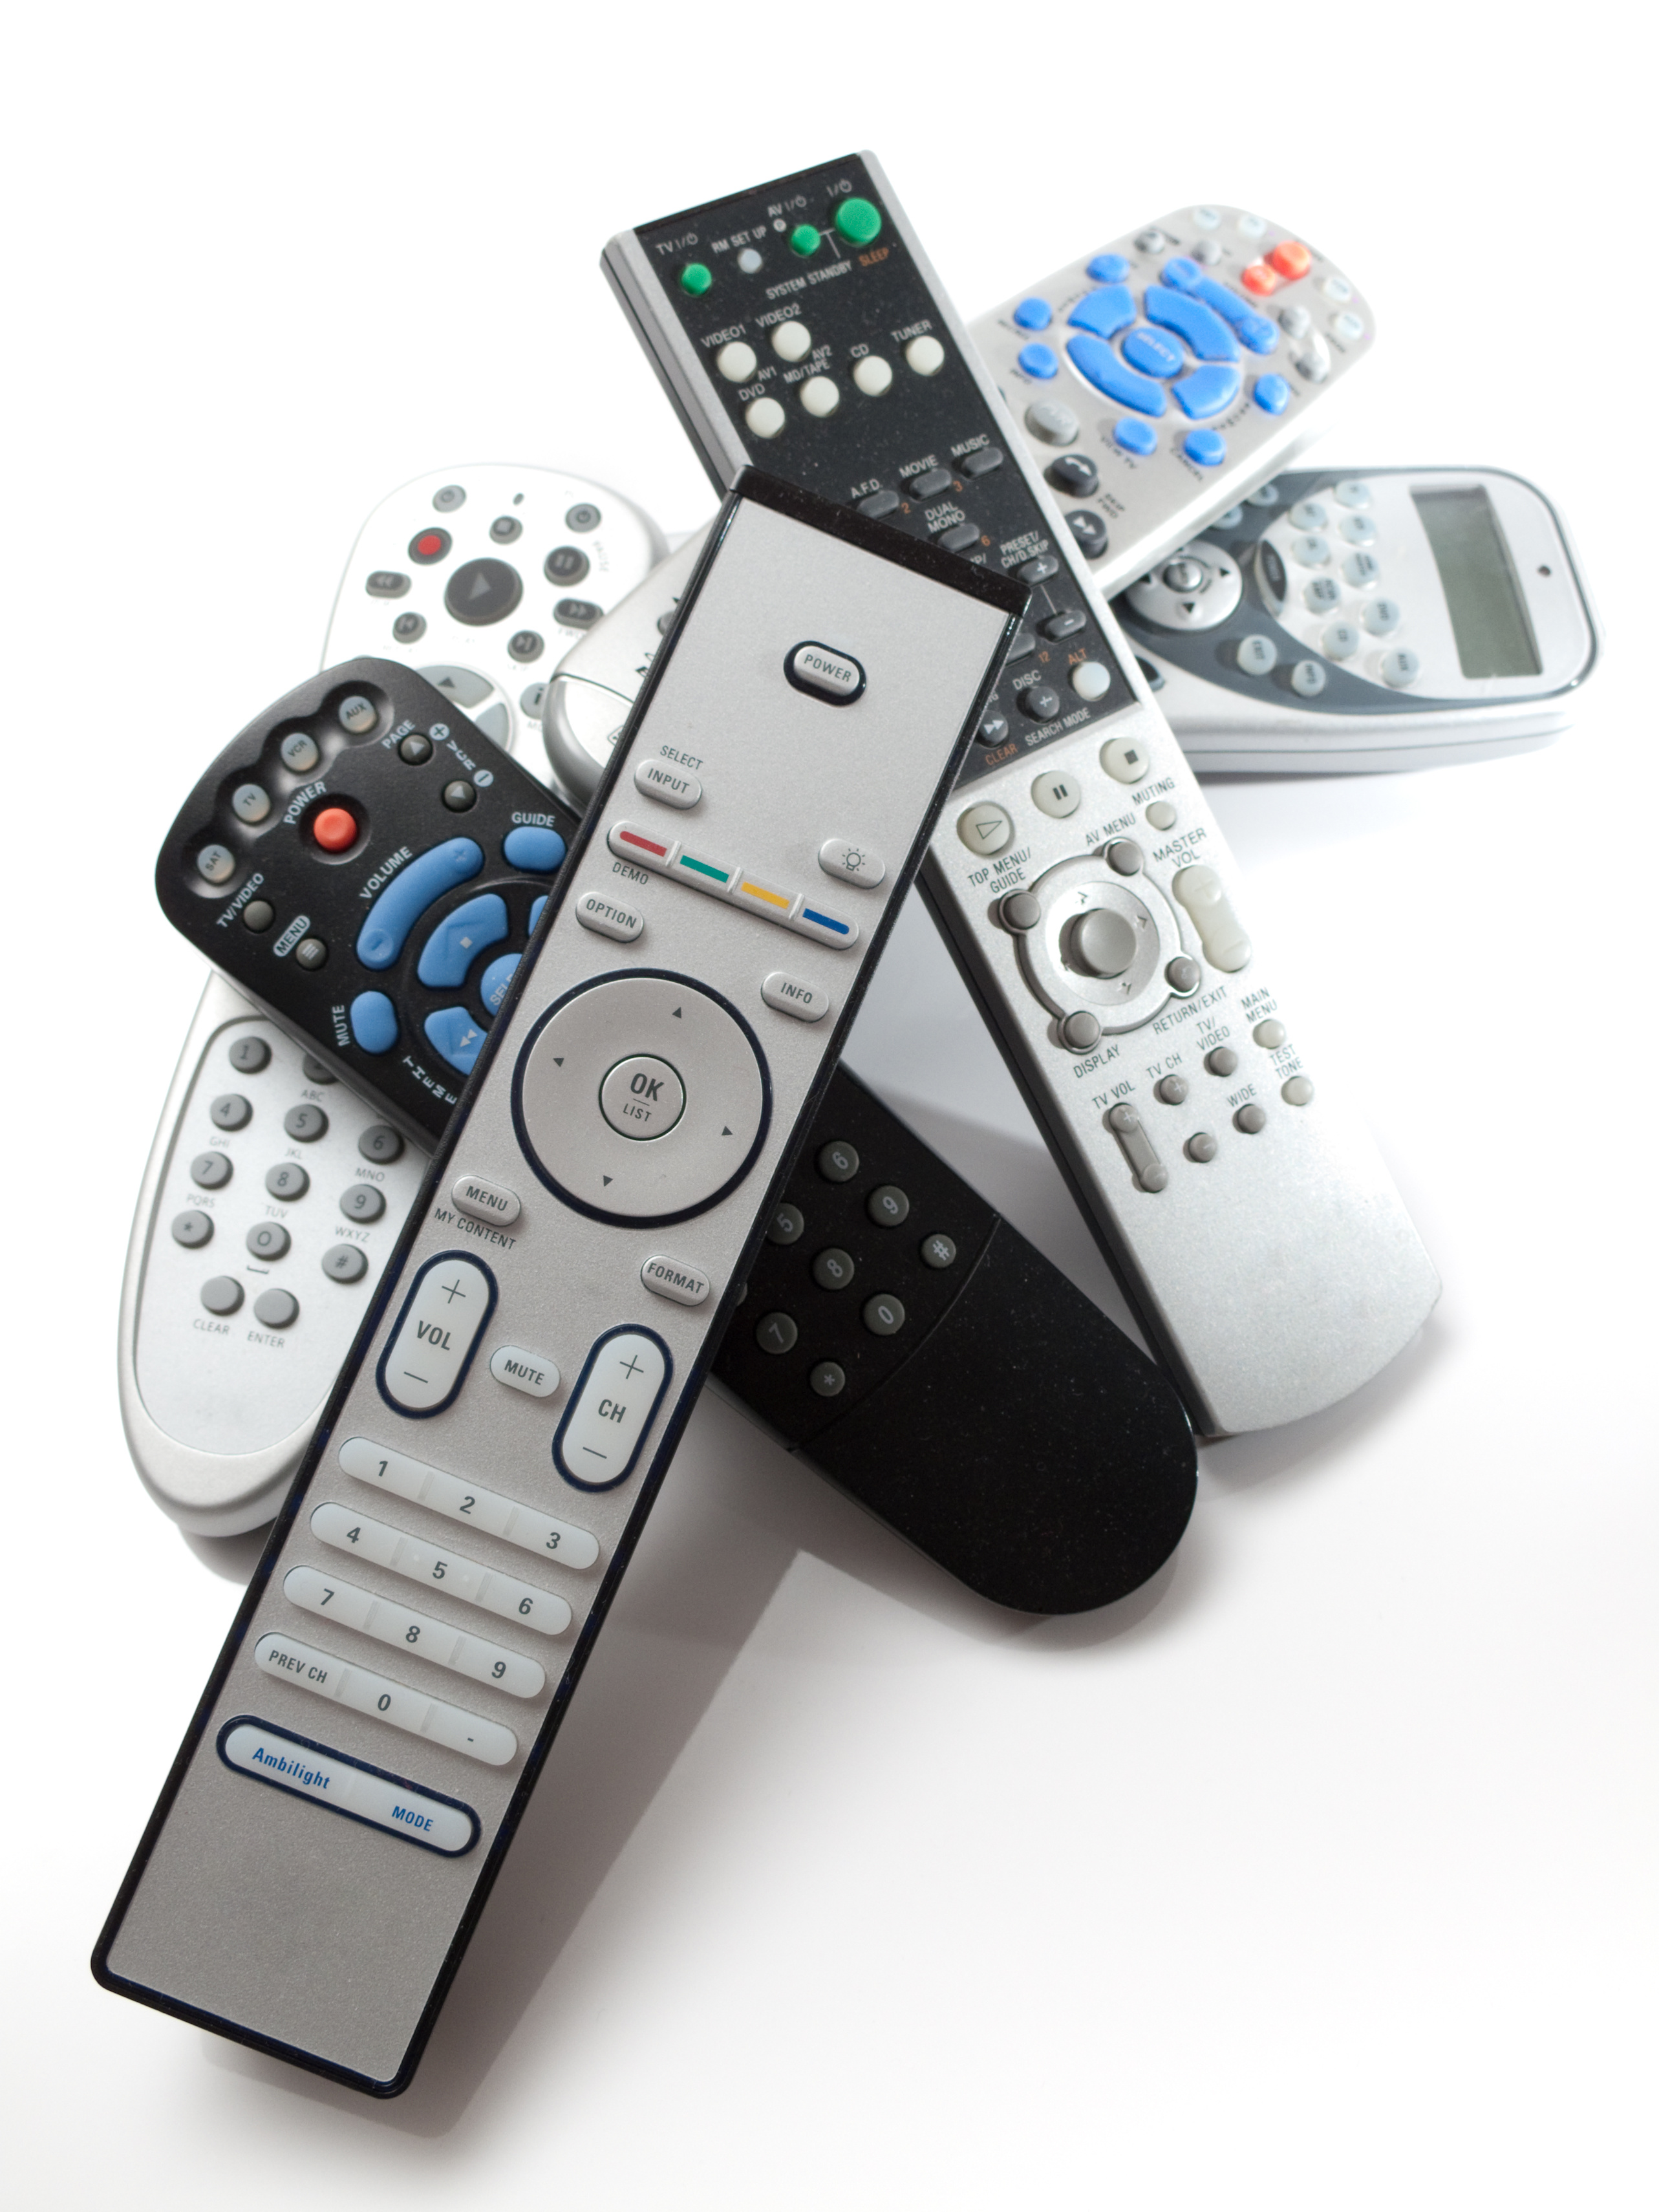
bunch of remotes

3 Tips for Maintaining Your Remote Controls for Longevity

In a world increasingly governed by technology, remote controls have become indispensable tools in our daily lives. They bridge the gap between us and our devices, offering convenience and efficiency. However, their continuous use also subjects them to wear and tear. Maintaining your remote controls is not just about prolonging their lifespan; it’s about ensuring uninterrupted access to your favorite devices and appliances.

Regular Cleaning and Care

Regular cleaning and care are crucial for maintaining the functionality and longevity of your remote controls. Over time, dust and grime accumulate on the remote, which can interfere with its signal and button functionality. By regularly cleaning your remote, you can prevent this build-up, ensuring that it continues to operate smoothly. This maintenance step is simple but plays a significant role in preserving the effectiveness and responsiveness of your remote controls.

Turn Off and Remove Batteries: Always start by turning off the remote and removing the batteries to prevent damage.

Use a Soft, Dry Cloth: Gently wipe the surface of the remote to remove dust.

Cotton Swabs and Alcohol: For tougher grime around buttons, lightly moisten a cotton swab with rubbing alcohol and carefully clean around the buttons.

Dry Thoroughly: Ensure the remote is completely dry before replacing the batteries.

Clean the inside: Opening the remote and cleaning the backside of the keypad and the circuit board will help the keys function correctly. We have a step-by-step tutorial on how to do this at https://www.replacementremotes.com/generic/buy-fix-the-keys-on-any-remote-control-keypad-repair-kit-keypadrepkit.

Additional Tips:

  • Avoid using excessive liquid or abrasive cleaners.
  • Regularly clean the battery compartment to prevent corrosion.

Battery Maintenance and Replacement

Battery maintenance is a critical aspect of remote control care. The longevity and functionality of your remote largely depend on the condition of its batteries. It’s important to regularly check and replace them to avoid issues like leakage and corrosion, which can irreparably damage the remote. Choosing high-quality batteries and avoiding the mixing of different types or ages of batteries are also key practices. If you encounter minor corrosion, gently cleaning the contacts can help, but always handle leaking batteries with care and dispose of them safely.

Proper Usage and Handling

The way you handle your remote control can significantly affect its lifespan. These devices are designed for gentle use; rough handling, such as dropping or pressing buttons too hard, can harm their internal components. Protecting your remote with a case can prevent damage from accidental drops, and keeping it away from liquids is crucial to avoid internal damage. Additionally, storing your remote in a cool, dry place away from direct sunlight helps to preserve its integrity and functionality.

Using Protective Cases for Remote Controls

Adding a protective case to your remote control is an effective way to extend its lifespan. These cases, available in materials like soft silicone or hard plastic, provide a barrier against physical damage. They are particularly useful in cushioning the impact in case of accidental drops, which are among the common causes of internal damage to remotes.

Beyond protection from falls, these cases also help safeguard the remote from scratches, dust, and potential spills, keeping it in optimal condition for longer. For households with children or pets, or in high-traffic areas like living rooms, using a protective case can be a simple yet crucial step in preserving your remote control’s functionality and appearance.

Maintaining your remote controls doesn’t require much effort, but it makes a significant difference in their performance and lifespan. Regular cleaning, proper battery care, and gentle handling are key. By following these tips, you ensure that your remote controls remain reliable companions in your daily life.

For more maintenance tips, replacement parts, or if you’re in need of a new remote control, check out Replacement Remotes, your one-stop shop for all your remote control needs.
Two men installing a new TV on a wall mount

Wall Mounting Your TV: Tips and Tricks for a Perfect Installation

Are you considering wall mounting your TV to create a sleek and space-saving entertainment setup? At Replacement Remotes, we understand the appeal of a wall-mounted TV, and we’re here to help you achieve a perfect installation. Wall mounting not only enhances the aesthetics of your room but also maximizes floor space, reduces clutter, and offers an immersive viewing experience. In this comprehensive guide, we’ll share professional tips and tricks to ensure your TV wall mounting project goes smoothly.

Choosing the Right Wall Mount

Before you embark on your TV wall mounting journey, it’s crucial to select the right wall mount for your TV. Here are some considerations:

  1. TV Size and Weight: Ensure that the wall mount can support the size and weight of your TV. Check your TV’s specifications or consult with the manufacturer for this information.
  1. VESA Compatibility: Most TVs and wall mounts follow VESA (Video Electronics Standards Association) standards for mounting hole patterns. Ensure that your TV and wall mount have compatible VESA patterns for a secure fit.
  1. Tilt, Swivel, or Fixed: Decide whether you want a fixed, tilting, or swiveling wall mount. The choice depends on your viewing preferences and room layout.
  1. Cable Management: Some wall mounts come with built-in cable management systems to keep your wires organized and hidden.

Once you’ve chosen the right wall mount, let’s move on to the installation process.

Materials You’ll Need

Before you begin the installation, gather the following tools and materials:

  • Wall mount kit (including brackets and screws)
  • Stud finder
  • Level
  • Power drill and drill bits
  • Screwdriver
  • Measuring tape
  • Pencil
  • Anchors (if mounting on drywall)

Steps for a Perfect TV Wall Mount Installation

Find the Ideal Wall Location:

  • Use a stud finder to locate the wall studs. Mounting your TV on wall studs provides the necessary support for a secure installation.
  • Determine the ideal height for your TV. The center of the screen should be at eye level when you’re seated. Mark the wall with a pencil.

Assemble the Wall Mount:

  • Follow the manufacturer’s instructions to assemble the wall mount bracket. This typically involves attaching the brackets to the back of the TV.

Mark the Mounting Holes:

  • Position the wall mount on the wall at the desired height and use a level to ensure it’s perfectly horizontal.
  • Mark the mounting hole locations on the wall with a pencil.

Drill Pilot Holes:

  • Use a power drill and appropriate drill bit to create pilot holes where you marked the mounting holes. If you’re drilling into drywall, be sure to use wall anchors to secure the mount.

Secure the Wall Mount:

  • Attach the wall mount bracket to the wall using screws or wall anchors, depending on your wall type.
  • Double-check that the bracket is securely fastened and level.

Connect Cables:

  • Before attaching the TV to the mount, connect all necessary cables, including HDMI, power, and any other peripherals. This will make cable management easier.

Mount the TV:

  • Carefully lift the TV and align it with the wall mount bracket. Most brackets have a locking mechanism to secure the TV in place.
  • Check that the TV is level and securely attached.

Cable Management:

  • Use cable clips or channels to neatly route and hide the cables along the wall. This ensures a clean and organized look.

Final Adjustments:

  • After mounting, make any necessary adjustments to the TV’s tilt or swivel to achieve the desired viewing angle.

Test and Enjoy:

  • Turn on your TV and test all functions to ensure everything is working correctly. Sit back, relax, and enjoy your new wall-mounted TV!

Professional Tips and Tricks

  • If you’re unsure about finding wall studs or mounting on certain wall types, consider hiring a professional installer for a hassle-free experience.
  • Use a wall mount with a built-in bubble level for easy and accurate leveling.
  • Hide your TV’s power outlet and cable/satellite box using a recessed wall plate for a clean and minimalist appearance.
  • Ensure proper ventilation for your TV to prevent overheating. Avoid enclosing it in a tight space.

At Replacement Remotes, we’re committed to helping you make the most of your home entertainment setup. Wall mounting your TV is a fantastic way to transform your living space. With the right guidance, you can achieve a professional-looking installation. If you have any questions about compatible wall mounts, TV remote controls, or any other accessories, don’t hesitate to reach out to our expert team. We’re here to assist you every step of the way on your journey to a perfect TV wall mount installation. Enjoy your enhanced viewing experience!

Ready to elevate your entertainment experience with a perfectly mounted TV? Explore our selection of high-quality wall mounts and remote controls today to get started on your TV wall mounting project. Don’t settle for less—choose Replacement Remotes for all your home entertainment needs!