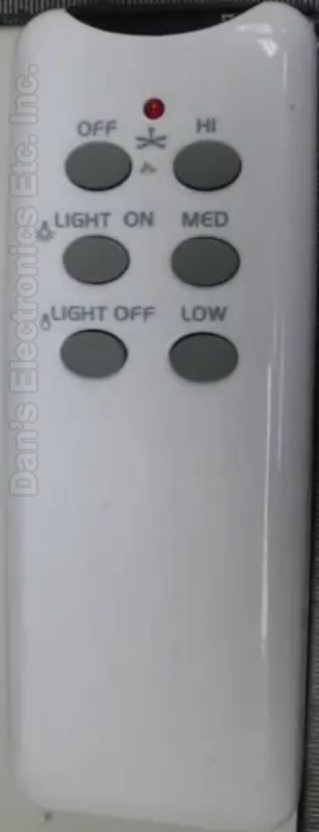
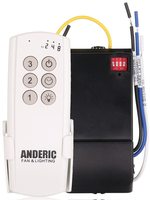
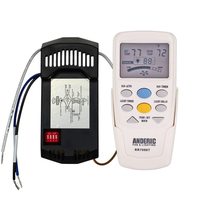
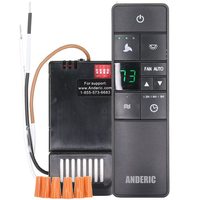
The Anderic 63T-AC83T-KIT is a substitute for the Design House KUJCE10511 / 154286 kit. It is a ceiling fan remote and receiver kit (16 dip codes).
Specifications
- Kit: Anderic 63T-AC83T-KIT
- Radio frequency (RF)
- Batteries: 2 AAA (not included)
- For AC ceiling fans only; not for DC or solid-state fans
- Supply: 110/120 V, 60 Hz; maximum fan motor 1.0 A; maximum light 190 W (incandescent or LED)
- Separate fan and light control: HIGH, MEDIUM, LOW and fan power keys
- Light key: press for on/off, press and hold to dim; the receiver remembers the brightness
- Timer key for a 2, 4 or 8 hour light delay, shown by an LED on the remote
- One remote can run two fans, or two remotes can run one fan, by matching dip switches
- Works with fans that have no light kit (leave the blue light wire unconnected)
Good to Know
- Key names and layout may differ from the original. Compare your original's buttons before ordering.
Setup / Pairing
1. Install the receiver
- Turn the power off at the circuit breaker or remove the fuse. A qualified electrician is recommended. Make sure the receiver fits in your fan canopy before you start.
- If your fan has pull chains, set the fan chain to high speed and turn the light chain on.
- Set the receiver's 4 code switches to a pattern of your choice and note it. The factory setting is all up; we suggest not using it.
- Remove the fan canopy from the mounting bracket and disconnect the existing wiring between the fan and the ceiling junction box.
- Connect the receiver with the supplied wire nuts: green fan wire to the bare (ground) supply wire; black receiver wire AC IN L to the black wire from the ceiling; white receiver wire AC IN N to the white wire from the ceiling; white receiver wire TO MOTOR N to the white fan wire; black receiver wire TO MOTOR L to the black fan wire; blue receiver wire FOR LIGHT to the blue fan wire. If your wires are different colors, have a licensed electrician install it.
- Push the connections up into the junction box, lay the brown antenna wire on top of the receiver, set the receiver in the mounting bracket and reinstall the canopy.
- Restore power.
2. Pair the remote
- Press firmly on the arrow and slide the remote's battery cover off.
- With a small screwdriver or pen tip, slide the remote's 4 code switches to exactly the same pattern as the receiver. The two only work together when the patterns match.
- Insert 2 AAA batteries (not included) and replace the battery cover.
- Test: press the fan speed keys, the power key and the light key. The blue indicator on the remote lights with each key press, and the fan and light respond.
Troubleshooting
- Remote does not work: check that the receiver has power and the wall switch is on, the wiring is correct, any pull chains are on high with the light on, the batteries are in correctly, and the code switches match on the remote and receiver.
- Fan or light turns on and off by itself: another RF remote is interfering; set a new matching pattern on both the remote and the receiver.
- Short range: route the brown antenna wire higher, outside the junction box.
What's in the Box
- 1 remote and 1 receiver (63T-AC83T-KIT)
- Wall mount holder and 2 screws
- Wire nuts for the receiver
- Batteries not included
Compatible Models
- Design House KUJCE10511 / 154286
Before ordering, check the model or part number printed on your old remote (usually on the back or inside the battery compartment) and compare it to this list.
Frequency Type : RF/Bluetooth
FCC ID : KUJCE10511
Frequency (MHz) : 314.92
Dimensions: 2.00 x 6.00 x 1.00 (W x L x D, inches)